
Using thesheet Product Clipper
How to add products using thesheet Product Clipper.
Note: thesheet uses a Chrome Extension to gather information, click here to learn how to Install thesheet Product Clipper.
Open a supplier website you’d like to source products from, or try this example, Audocph.com
Open up thesheet Product Clipper by clicking on the puzzle icon and select thesheet Clipper icon.
Note: To save directly to a project, make sure you’ve created a project within thesheet. Otherwise you can save directly to your product library.
Saving with Donut - our AI helper
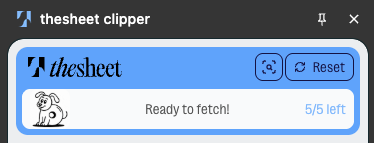
Click on Donut's "Ready to fetch!" button and our AI helper fetches everything in seconds. You can still change any information Donut fetches by simply clicking on the field or re-organise or delete photos by hovering on any of the clipped images.
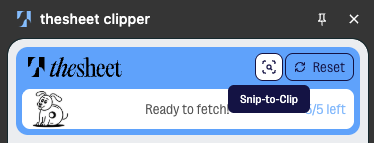
Snip-to-Clip for trickier cases: draw a box around what you want (specific configurations, PDF catalogues) and we turn it into structured product data instantly.
Saving manually
Clip images
1. With the Product Clipper open, right-click on the image you want to add.
2. In the drop down select “Clip Image” with thesheet icon.
*note the first image you select will be set as the primary image within thesheet
3. Continue selecting images by following step 1 and 2.
4. To delete an image, hover over the image in thesheet product clipper and click the delete.
Note: for the best results, click or zoom in on the image to get the highest resolution and then save it to the Clipper. This will ensure you always get the best quality images.
Adding a product category
Select the product category for your product to easily sort your project within thesheet.
- Click the category drop down in the Clipper
- Start typing the product type you’re adding.
- Select the appropriate category from the list.
Full list of product categories
Adding product information.
- Click the plus symbol next to the information that you want to add. The plus icon will change to blue.
- Click on the text on the supplier website to add the information directly to thesheet
For specific text that is part of a paragraph, such as dimensions, highlight the text you wish to save, right click, and select “Clip section” with thesheet icon.
Clipping to thesheet
There are two ways to save your product information to thesheet: Clip directly to your project or Clip to add to your Product Library.
Option 1: Clip directly to a project in thesheet
- After adding all relevant product information, select an active project from the dropdown menu.
- Choose the Space within the project where you want to add the product.
- Click the Clip to Project button.
Note: if the button is greyed out, ensure you’ve selected an active project to add the product to.
Option 2: Clip to your Product Library
- After adding all relevant product information, click the Save to Library button at the bottom of the Clipper.
Learn how to build your Product Library
Resetting the Clipper
*Note: you can clip each product to a project and to your product library. Once you are ready to Clip the next product, reset your Clipper to clear all of the information.