
Alternative products
Adding alternative products to your projects in thesheet
Offering multiple product options in your project provides more choices for your clients. While most interior designers typically present three options, managing these alternatives across a project can be time-consuming and confusing for clients.
thesheet's alternative products feature simplifies this process by allowing you to manage alternatives easily while ensuring that only the main product counts toward the overall budget.
How to add alternatives to your project.
- Add all of your products you would like to add to your project. Learn how to add products to your project.
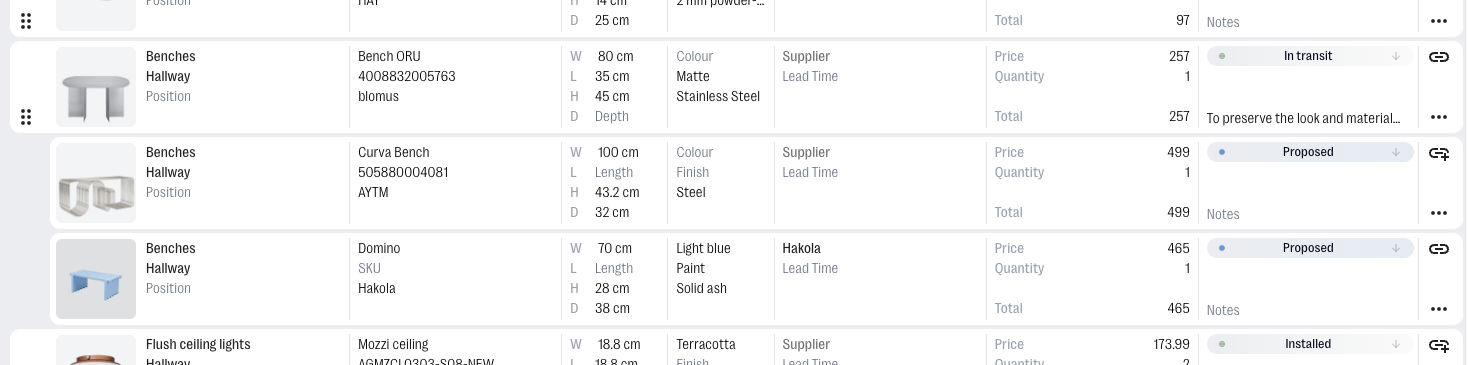
- Organise your products and drag the alternative product below the main product using the six dots. Then hover on the product and click on the arrow icon that appears.
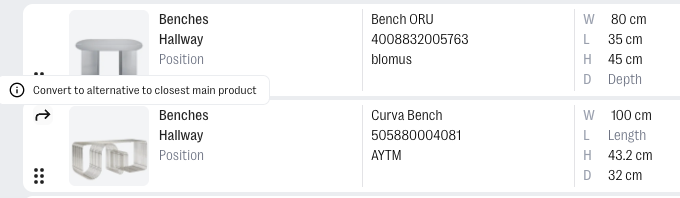
This will create an alternative which is shown in the interface as indented.
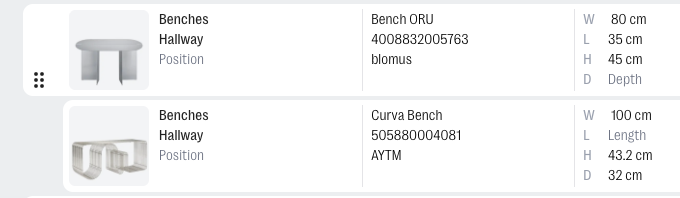
Repeat the same step to add multiple alternatives.
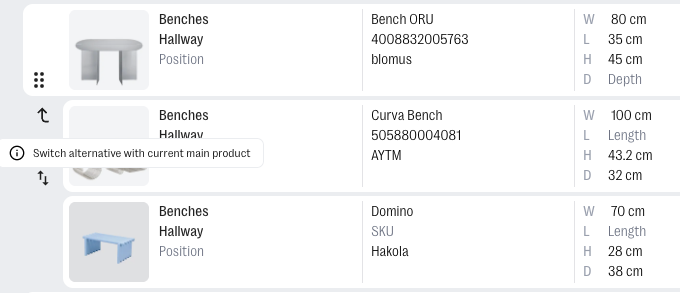
Changing the main product
If you need to switch an alternative with the current main product hover on the alternative product and click on the two-arrowed icon. For example when a client Approves one of the alternatives instead of the main product you can easily switch them around.
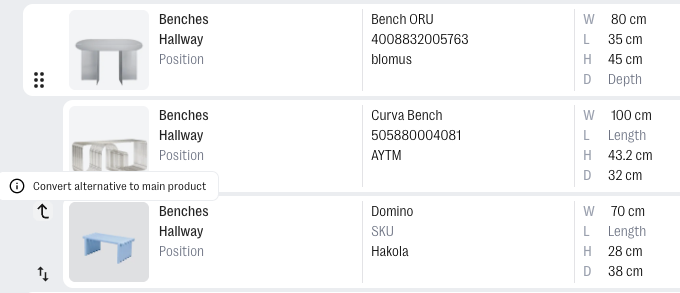
Changing alternative back to a main product
If you need to change an alternative back to a main product hover on the alternative product and click on the arrow icon. For example when you decided that one of the alternatives could actually still be in the project as a separate product.
How product alternatives affect the project budget
Product alternatives are linked to the main product and are counted as a single product within the project. Regardless of how many alternatives are added, only the main product is counted towards the project’s overall budget.
This simplifies budget management, eliminating the need to adjust or remove alternatives with every change.
Removing an alternative product from your project
Note: Even if a product alternative is rejected by the client, you can keep it within your project. This can save time later if the main option becomes unavailable, allowing you to quickly refer back to the original alternatives.
A rejected product will be greyed out in your spec sheet and won’t be included in the overall project budget. If you still need to remove it though move to the right hand side of the product item, click on the three dots and Delete.
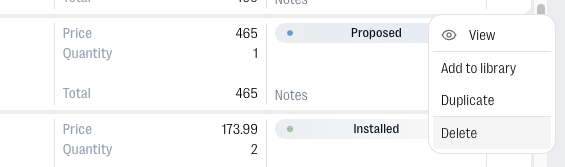
This will completely remove the product from your project.