
Product Statuses and Multi-select
How to keep track of your projects using product statuses
Product statuses let you match your spec sheets to the current stage of your project. You can update each product in your spec sheet as it progresses from initial client proposals, approvals, quoting, and even ordering.
How to update a product status
Updating your product status is simple in thesheet. You can update it directly from the sheet view—both in list and card view—or from the individual product details page. Your client can also review proposed products in the client view and update them to approved or rejected status.
Even if you or the client mistakenly update a product to approved or rejected status, no worries! You can track changes in the product comments and revert to the correct status.
Project Sheet view
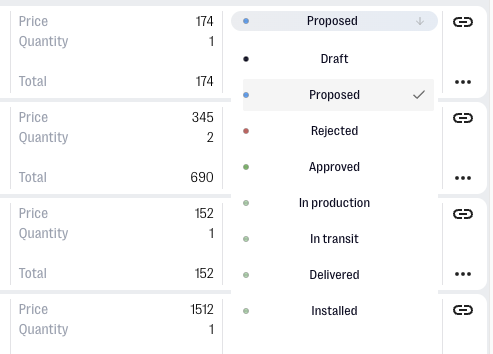
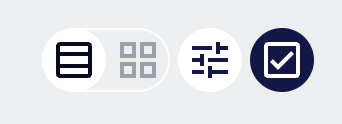
List View: The status dropdown is on the right side of each listed product in your project.
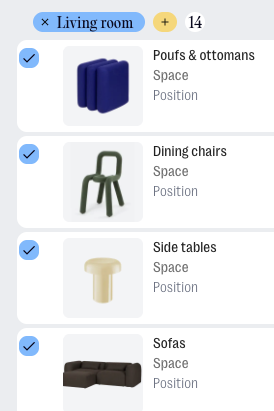
Card View: The status dropdown is below the image of each product in the card view.
Product Details: In the product details, the status dropdown is found under the product images.
To update a product status:
- Click the status dropdown.
- Select the relevant status: Draft, Proposed, Approved, Rejected, or Ordered.
- The status will be updated accordingly.
The client view
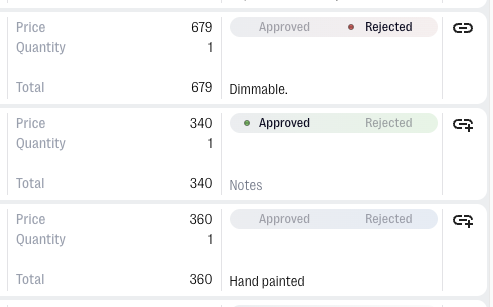
Clients will only see products in Proposed status or higher in the client view. For products in proposed status, clients can approve or reject them directly from their list or card view, or within the product details. A timestamp is added each time a client updates a status.
Product Statuses and Their Uses
thesheet has six product statuses that help you track each product through various stages in your interior design process:
- Draft: Products are automatically set to draft status when added to your project. Clients cannot see draft products, giving you time to adjust and finalise information before moving them to proposed status.
- Proposed: The first status visible to clients. Once a product is finalised, you can set it to proposed, allowing the client to review, comment, and either approve or reject the product.
- Approved: Approved products are confirmed by the client and ready to move forward. This status helps you keep track of what’s been signed off and is ready for ordering or production.
- Rejected: Rejected products will still be visible but greyed out. This allows you to keep track of all products and communications, and you can re-propose rejected products if needed.
- In production: Products marked as in production are currently being made by the supplier. This gives both you and your client visibility into what’s actively being worked on.
- In transit: In transit means the product is on its way. Use this status to indicate that items have been shipped and are en route to their destination.
- Delivered: Delivered products have arrived at their destination. This helps track what has been received and is ready for the next step.
- Installed: Installed products have been placed or set up in the space. This is the final stage, showing that the item is fully in place and part of the completed project.
Filtering your project by product status
You can filter products by status to keep your project easy to navigate at every stage. As projects grow and include hundreds of items, filtering helps you quickly focus on what matters—like viewing only products that haven’t been approved or rejected yet. This makes it simple to see what still needs attention and keep things moving without getting lost in the details.
How to Filter by product status
1. Click the filter icon in the top right of your project in the sheet view.

2. From the dropdown menu, select the product statuses you want to review.

3. Click Apply to refresh the sheet view with your selected statuses.
To reset filters, click the filter icon again and select Reset from the dropdown. This will remove all filters.
Update multiple product statuses using multi-select
You can streamline your process by updating multiple product statuses using the Multi-select feature.
How to use multi-select
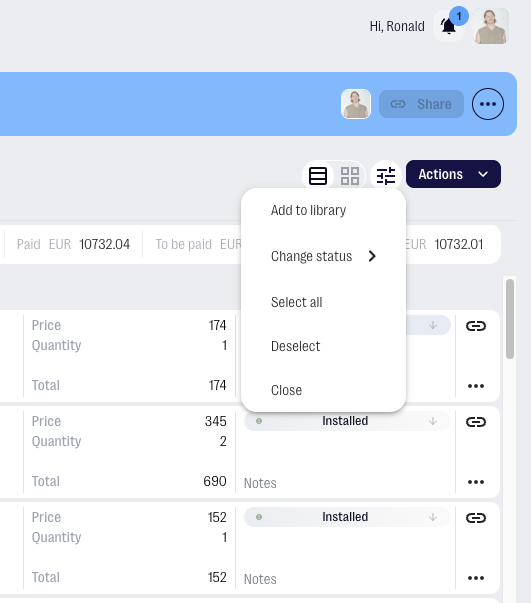
- Click the checkmark icon in the top right corner of your project in the sheet view.
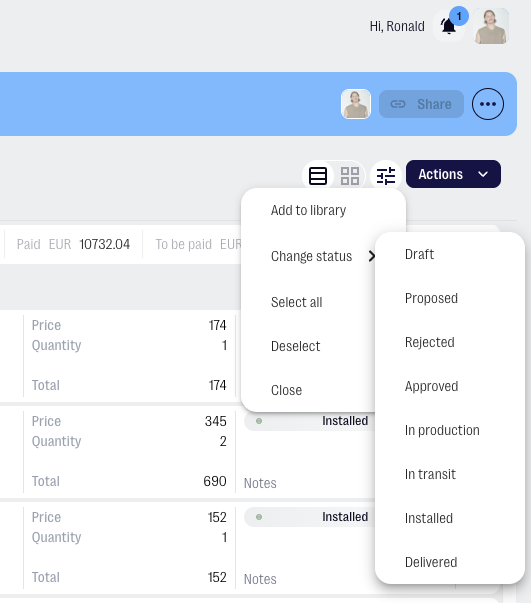
- This will open the Actions dropdown and display checkboxes next to each product. If no products are selected, the only option in the actions dropdown will be Select All.
- Select the products you want to update in the sheet view.
- Click the Actions dropdown > Change status, and choose the relevant status you want to apply.
Using this feature allows you to update an entire project with just a few clicks, saving time compared to updating each product individually.