
Project import from XLSX
Importing an ongoing project from XLSX
If you're moving an ongoing project into thesheet from a spreadsheet, you can import it directly from an XLSX file. The importer will walk you through all the steps including matching your existing columns to the right fields so your products land correctly.
Just start a new project, fill in the details and start the Import from the first screen you land on in the new project or use the three dots in the project view header to start the Import.
Step 1: Upload your file and choose the correct sheet
Upload your XLSX file. If your file has multiple tabs, select the one that contains your product data.
Step 2: Choose the header row
Select the row that contains your column headers. Many spreadsheets have project names, contact details, or other information in the rows above the actual headers — this step makes sure thesheet reads the right row as the starting point.

Step 4: Match your columns
Match your spreadsheet columns to thesheet's fields. For example, "Categories" → Category, "Manufacturer" → Brand, "Room" → Spaces.
Name is required — this is the product name (e.g. Rey Chair). Without it, the import can't continue. All other fields are optional.
Any column you don't want to import can be left unmatched and will be skipped.
Spaces are created automatically in the project based on whatever values are in your mapped Spaces column.

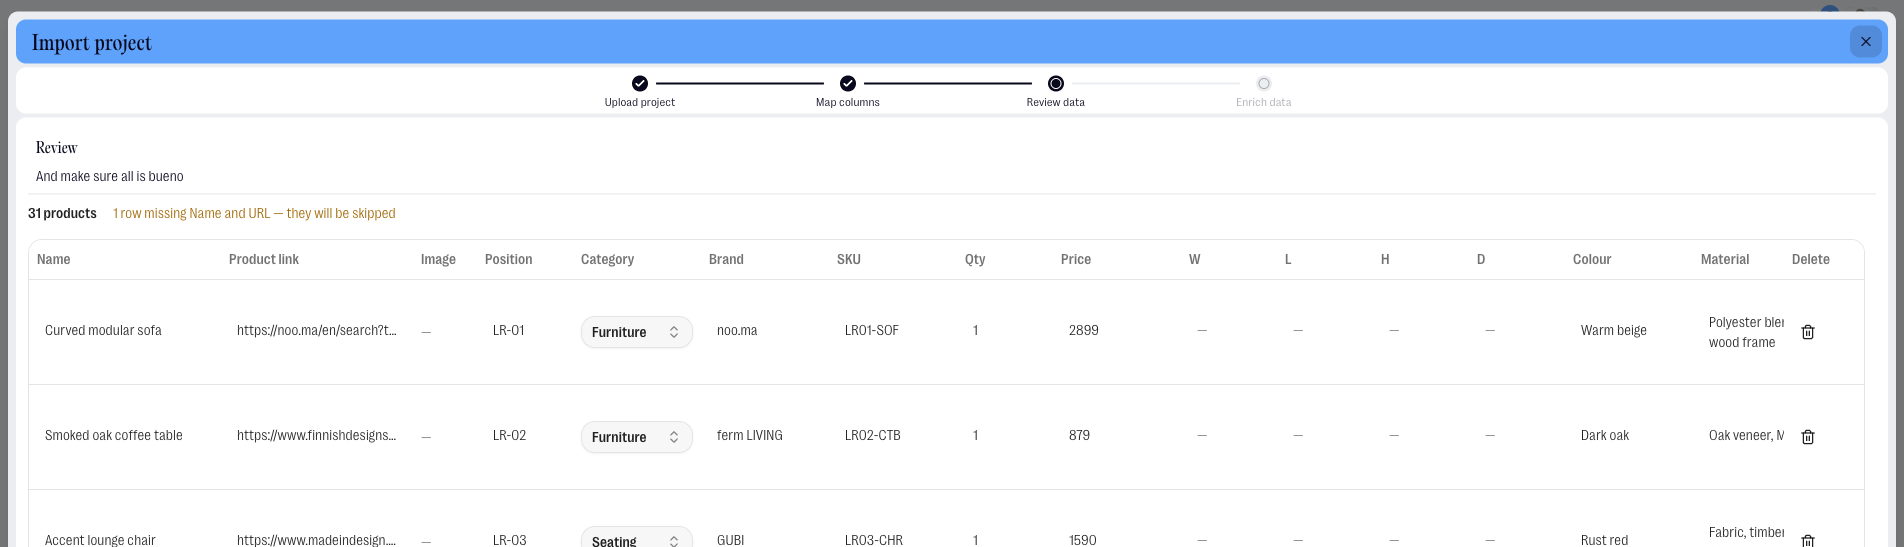
Step 5: Review
Check your products and fields before importing. Any rows that couldn't be imported — because they had neither a product name nor a URL — are marked.
Step 6: Fetch product info with Donut AI (optional)
If your products have URLs, our AI-helper Donut can fetch the latest product information — images, dimensions, pricing, and other details — directly from the source. This is optional. Products without URLs simply skip this step.

Step 7: Review changes
If you ran Donut AI, review the changes it made and click on Finish Import.